2019 Snow Safety Course
By Imogen Van Pierce.
Famous for their epic terrain and down to earth hospitality, the Selwyn Six club fields become a home away from home for many families over the winter months. Having been introduced to their charms last winter, I’m thoroughly committed to a long term relationship. It’s true too that the more you ski them, the more you’re drawn to the beautiful basins and technical chutes that lie just outside of the ski field boundaries. As Mark Bridgwater succinctly put it, ‘migrating from the relative safety of the patrolled ski area and into the back-country is a natural progression for anyone who skis the clubbies’ – and he’s right, but what is less obvious is whether these individuals are actively managing their avalanche risk in the backcountry.
This played on my mind a fair bit last winter, especially when out touring, so it was almost with relief that I signed up to do a snow safety course with Anna Keeling Guides, in partnership with Chill. Shortly after, I went to hear Anna present at a recent NZAC ‘Women in the Mountains’ talk and long story short, her mountain ethos struck a chord, leaving me feeling pretty excited to be learning from the best in the business.
Day One
After an enjoyable Friday spent skiing at Broken River – and incidentally fixing my temperamental ski boots in their workshop – I woke up to an internally frozen windscreen on the Saturday morning, having spent the night sleeping in my car. A short trip down the road to Castle Hill Village community centre rewarded me with a cosy fire and a morning of introductions and avalanche theory. Under the tutelage of our avalanche instructor John Horan of Anna Keeling Guides, our group of six ran through the basic types and causes of avalanches and a few scary New Zealand statistics. We discussed what you need to know before you go – so basically how to read and understand the weather reports and the local avalanche advisory, and what gear to carry and how to use it in theory. Communication came up as an extremely important tool in the mountains, alongside safe route finding or terrain management and snow pack analysis, all of which help to create a basis of knowledge with which to keep yourself safe in the mountains.
It was a lot of information to absorb, but presented in a well-structured and logical manner with a clear practical application. With the theory covered, reports considered, lunch eaten and a quick visual check of the mountains conditions from the carpark, we headed up to Mt Cheeseman for a quick afternoon tour.
After checking our transceivers up the top of the ski field, we crossed the boundary and dropped into Tarn Basin one by one, re-grouping at each of our designated ‘islands of safety’ to discuss the snow pack and practice measuring the terrain’s slope angle. Due to the weather system earlier in the week, we were primarily concerned with assessing for potential wind slab and loose wet avalanches. Avalanches are usually triggered on slopes between 30-45 degrees – so to put that into perspective, that’s somewhere in the vicinity of Big Mama or Bluff Face at Porters, and more than a few areas in Tarn Basin.
The snow was good, if a little variable in firmness, however interestingly enough the Basin had already seen some action that day, with a skier triggering a small slab avalanche just after midday. The fresh debris shone bright and was in stark contrast to some older, partially-filled in debris. Luckily the skier was unhurt, but it made for an interesting discussion as to the line the skier took and factors influencing this choice.
Skinning back up, we spaced out on the more exposed sections of terrain, dropping back in bounds for a final lap of Cheeseman. Back down the mountain and another night of salubrious car camping at Mistletoe Flat.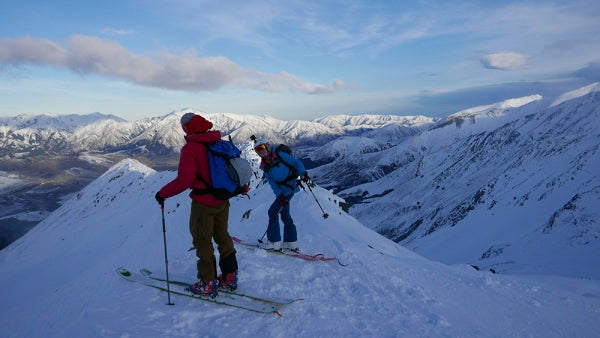
Day Two
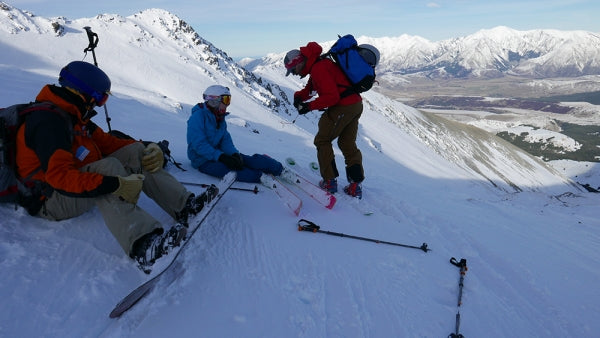
More ice on the inside of my windscreen on Sunday morning (rest assured I was cosy in my sleeping bag and down jackets). Left early to bask in the morning sun at Castle Hill Village and catch up with the others to discuss the day’s weather report and avalanche forecast before heading up the hill.
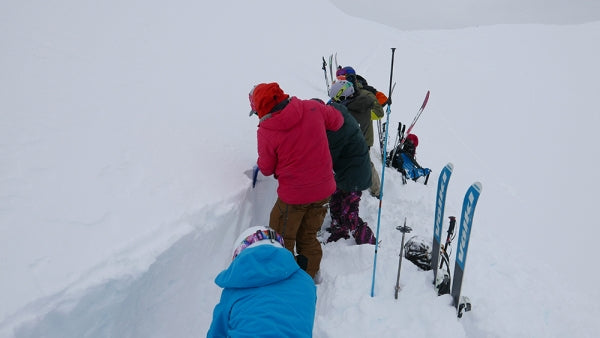
First stop was to check out the strange crack that had appeared atop Mt Cockayne, above Cheeseman ski field – a sign of instability but too well supported by snow to be of concern to the ski patrol. Heading back into Tarn Basin, we dropped just below the ridge to dig a snow pit. A useful way to test for propagation and compression in the snow pack, snow pits are one piece of the puzzle but aren’t necessarily representative of the whole snow pack.
After a quick lunch (highly recommend bringing a thermos of hot chocolate or tea), John set up a companion rescue scenario by burying his pack and a spare transceiver in the snow. Unaware of its location, one by one we practiced using our transceivers and probes to find the ‘buried person’. This was perhaps my most frustrating part of the course. With time as your enemy you have precious minutes to find where your friend is buried and dig them out – first of all I fell over trying to run in the deep snow, then I rushed my transceiver search which meant my probing was off target. It was a good lesson on technique, staying calm and being methodical – all the while reinforcing John’s mantra: the best gear is the gear you practice with.
After a quick digging race, where we girls bet the boys on technique (hint: dig down the probe), there was just enough time to throw in some more turns, before re-grouping and skinning back over to Cheeseman. A quick debrief with John to recap our course and it was all over.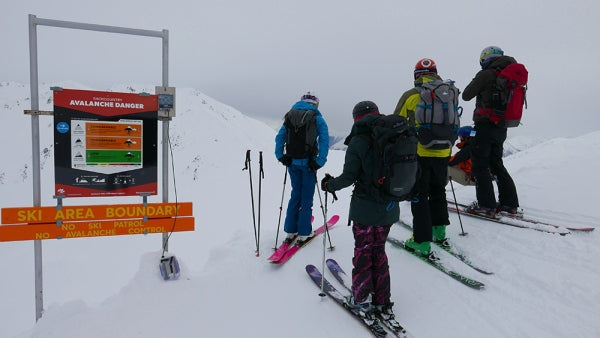
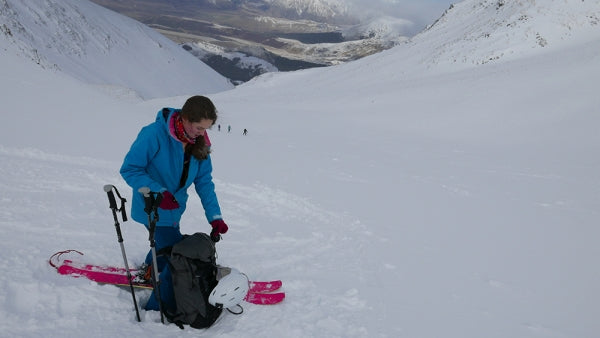
My key learnings for the weekend:
• Know before you go – read and understand the current weather report and avalanche advisory
• Being a passenger when driving up the mountain is the best time to scout for recent avalanche activity and a chance to double check weather conditions
• The best transceiver is the one you practice with – same goes for all your avalanche gear and the group of people you’re touring with in the backcountry
• Dig down the probe for accuracy, don’t just start at the top and dig straight down
• Be an active communicator and contributor in the backcountry – voice your opinion and don’t just assume everyone else knows better
• Look out for signs of snow instability and spread out when you’re exposed to avalanche terrain
• Practice gauging slope angle with an inclinometer until you train your eye
• Report any recent avalanche activity in the Public Observations section at avalanche.net.nz
Finally, a few pro tips from our instructor John:
• Bring a warm synthetic puffy to throw on over your hardshell when cold – provided it’s not raining, it’s a much quicker way of layering up to keep warm and is easily shed again
• When removing your skins from your skis, fold each skin in half and stick it onto itself (leave your cheat sheets at home people) and then tuck your skins inside your jacket to warm up the glue and improve adhesion later on
• If you like wearing a sun hat while out touring, use your neck gaiter or buff over top to stop it flying off in the wind
• Lightweight carbon probes aren’t necessarily the most robust choice – after some enthusiastic probing, mine lost its metal tip and then dismantled itself when John went to fold it up (on this note, apologies to my brother for breaking his probe)
• Eliminate excess gear like the sleeve your probe’s sold in to improve time efficiency when rescuing a companion – just stash it in your ski touring pack’s designated sleeve instead.
Keen to do a Chill Snow Safety Course? Check out all the details here.


